Sunday, November 9, 2014

Glamper Remodel:Supporting the Structure

Supporting the structure will be necessary if you need to replace the wood where it attaches to the 2x4 bolted to frame, or even replace the 2x4 itself.  I don't have any photos showing my supports, but I attempted to "draw" you what I did.

Front View:

Rear View:

 DO NOT unscrew anywhere the side wall attaches to the frame without providing support or your camper will "sink" and the side wall skin will not fit properly when you go to re-install. Once you have provided adequate "vertical" support you will be able to safely remove the nails/screws at the 2x4 located at the frame along the side of the camper at the wheel well area.


Note: 1x3 framing members are usually stapled together. You will need to remove the staples to replace any new framing members. You can easily remove the staples with pliers by wiggling them back and forth.


Here is the one I used: (available from your local hardware store)
Kreg Jr. Photo courtesy of Amazon.com

Happy Glamping!

linked up to:
Masterpiece Monday @ Boogieboard Cottage
Furniture Feature Friday @ Miss Mustard Seed

Tuesday, November 4, 2014

Glamper Remodel: Removing the Damaged Cabinets and Dinette Seats

Yowza! These babies don't really want to give up their parts. I of course, did it the hard way! Hopefully, you will do it the easy way!


Hard way: gently try to remove stripped screws (by any means necessary), pry up nails from the floor attachment and rip/tear from wall attachment.

Easy(r) way: gently try to remove stripped screws (by any means necessary), pry up nails from the floor attachment and then starting with the street side, remove and safely set aside (store) aluminum skin.

Using the Easy(r) method will gain access to the nails/staples holding the cabinets in at the side walls. Save yourself some grief and go ahead and remove the skin. You will need to anyway because you will have water damaged framing on the sides!


Note: I did not remove the upper cabinets across the front of the camper (over the dinette area) or the upper cabinets in the kitchen. Nor did I remove the closet/ice box cabinets. Don't forget to place those removed parts away for safekeeping!

Ignore the missing skin from the roof. I'll discuss that later. :)


When you have removed the side wall skin, you can easily access all the areas where you will need to replace water damaged framing,

Light colored wood is new.


Next post will discuss how to replace wood at the frame, without having the whole thing "sink" or collapse. I'm sure you would like to know how I accomplished that that!

Happy Glamping!

Linked to:
Wow Us Wednesday @Savvy Southern Style
 Furniture Feature Friday @ Miss Mustard Seed

Thursday, October 30, 2014

Glamper Remodel: Getting to the Heart of the Glamper

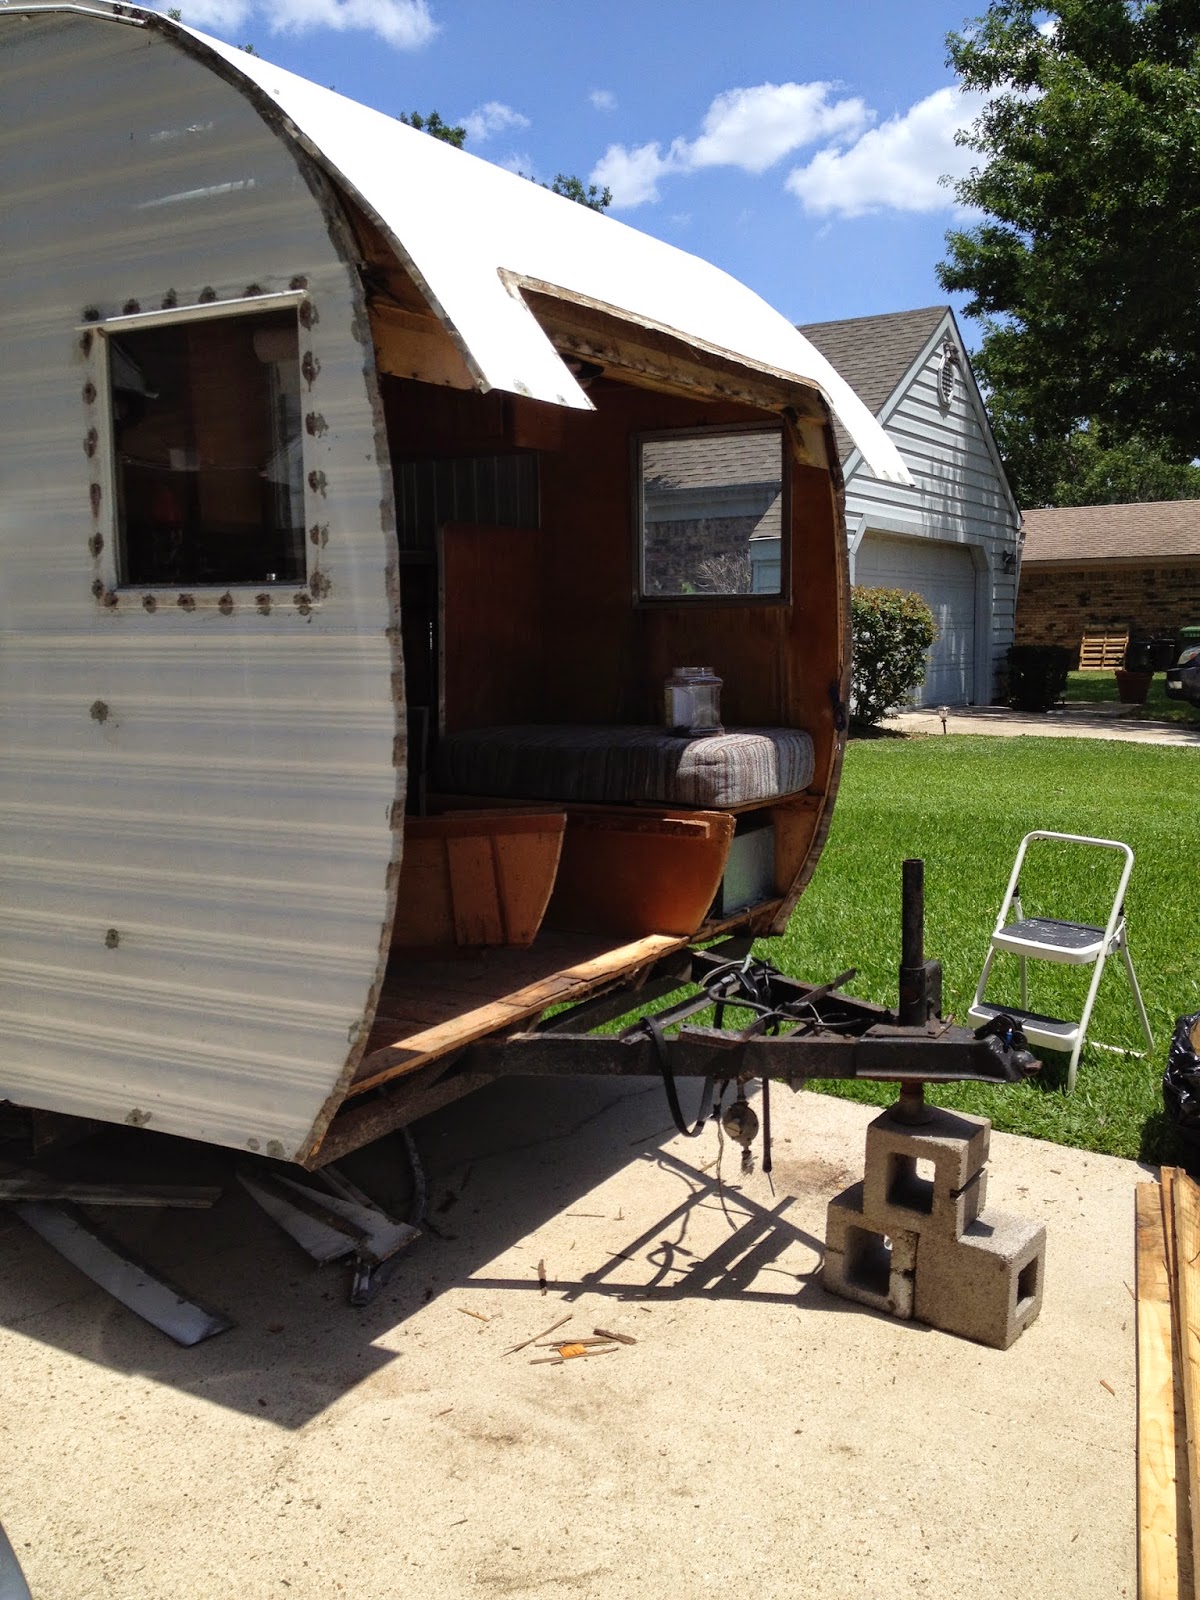
As my little glamper was a little rough on the insides (peeling veneer, original vinyl tile floor and water damage), it was necessary for me to open her up from both ends so that the bench seats, base kitchen cabinet and stove and stove cabinet could come out! Using the tips of marking the sides of the camper from my last post, I removed the windows from the front and back so that I could remove the aluminum skin from both ends.

Tip: use painters tape and permanent marker to label ALL pieces you remove. Also note if they are from the curb side (side of camper with door) or from the street side and with an "up" arrow.


1970's era AC unit removed from center position of front window


front window and eyebrow to be removed
Start removing the million little nails holding the "roof" skin down.Work gently so as not to damage the aluminum. Then proceed to remove the framing and interior paneling from the ends.


OPEN!
Wash, rinse and repeat at the rear of the camper! 
Don't forget to place that aluminum skin where it wont get damaged. I stored some under my camper and some I screwed to my fence in the backyard (using existing screw holes of course)

Happy Glamping!

Linked at:
 

Grab My Button

Honeydew Productions

LinkWithin

Related Posts with Thumbnails